11. Confirming temp probe and fan control operation, and final checkout
Start by turning off the HV switch and wait for 2 minutes before the temp probe test. We will need some props for this test.
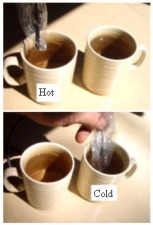
1. Cup of cold (ice) water 2. Cup of hot water 3. Two small sandwich bags (no holes)
Start the car and let it idle in neutral with the e-brake on. Place both of the probes into one bag submerged into the ice bath. The fans should stop. Take out one probe, and place into another bag in the hot water, the fans should start. Return that probe into the ice bath bag, the fans should stop; put the other probe into the hot bag, and the fans should start again. If all is working to this point, install the probes.
The white ground wire at the front of the harness must be connected to chassis ground or the fan test will fail.(no ground)
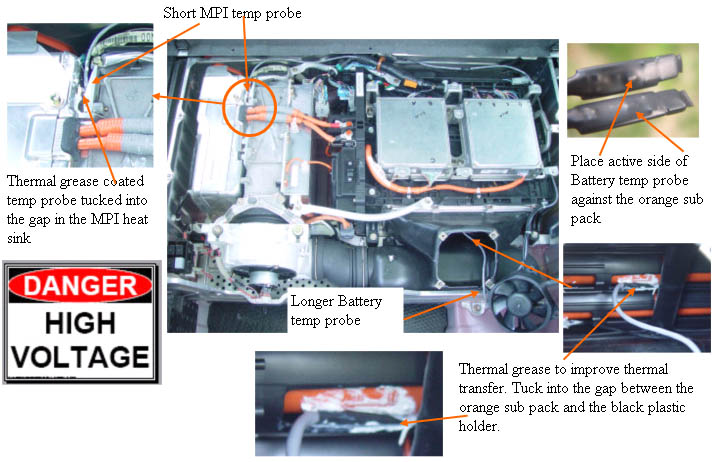
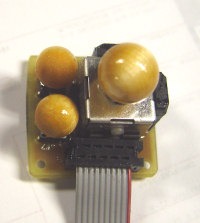
Placing the temp probes and fan diodes
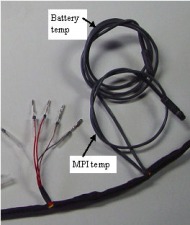
The rear MIMA harness has two temperature probes, the long for the battery pack the shorter for the MPI heatsink. If either of these probes gets over 95F, both of the fans will turn on full power (high speed).
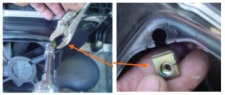
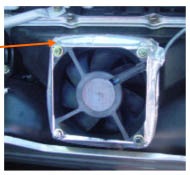
Remove the battery cooling fan
Remove the battery cooling fan. The spring clips and screws are pretty tight, and since the plastic outer cover is only thin plastic, you will damage the case if you do not grab the spring clips with pliers or vice-grips while loosening the screws.
Thermal grease Cut off the end of the small thermal grease container, and spread a thin coating on the probe before inserting. For the battery probe, tuck into the gap between the orange sub-pack stick of batteries, and the black plastic battery case; and stick it to one of the orange battery sub-packs.
Improve the fan
Get some aluminum duct tape, and seal the perimeter of the fan, so no air is sucked in there.
Put it all back together
At this point, everything has been installed. Turn on the HV switch, and I strongly recommend that you carefully read through the MIMA operation section of this website.
MIMA Operation Once you feel that you understand how to use MIMA, go out for a ride, and try out all the features on a nice abandoned road. remember the default mode for MIMA is off, and if any weird behavior starts to happen, turn off the kill switch, and if that still does not fix things, pull over and plug in the MIMA bypass switch. Still having problems? Call me. Once you confirm that everything works properly, re assemble things, and go out for a ride and get your MIMA grin going.