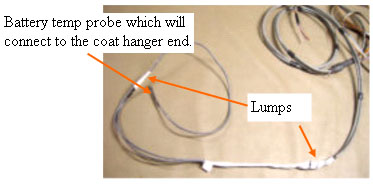
4. Threading the Harness, Cont'The harness is taped together with black and white plastic tape. The black tape will not be removed, but the white will after the harness has been run under the rug and through the rear fire wall up to the rear electronics area.
|
Finishing Threading Through
The temp probes and the harness in general is fairly rugged, but the tight areas that the harness must be fished through, and the lumpy nature of the harness, make it extremely important that you do not try to just pull the harness through the rug and rear fire wall.
You must only pull the wire fish enough to guide the cables' leading end through, as you push the cables in from the shift console end. The carpet can be raised with a long screwdriver during the fishing operation to minimize the strain on the connections. Go easy and you will not have a problem.
|
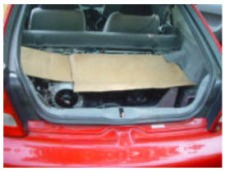
Cover the work area
Because of the danger of dropping tools or wire fragments into the electronics, a large piece of cardboard to cover the work area is recommended. |
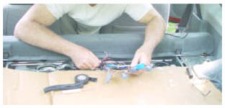
Comfortable position
I found that the easiest work position for me was to kneel on the two front seats, and lean between the seats into the rear area. |
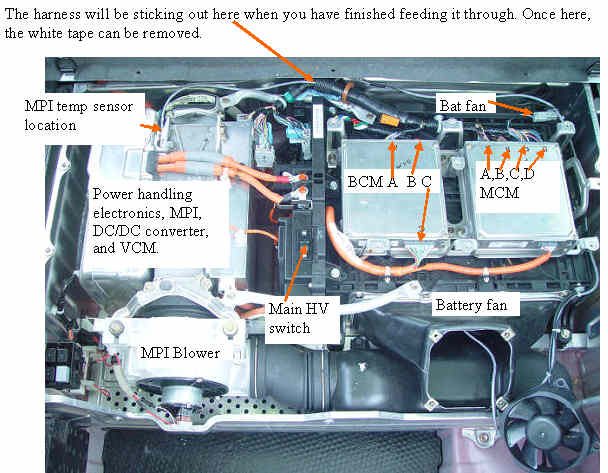
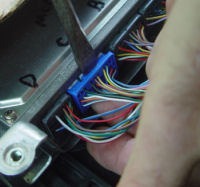
Unplug connectors
Unplug MCM connectors A , B, and C, and the BCM connector A. You also need to unplug the small grey fan connector at the far passenger side of the harness. There is a push clamp at the bottom of all of the connectors that must be pressed and held as the connector is pried out of the MCM and BCM body. A large flat blade screwdriver prying the top out, while you press the release clamp seems to be the easiest way to get them out. Make sure the clamp is released, or you could damage the connector rather than remove it.
It is also a good idea to use a sharpie to mark the connector with the proper number so it is easy to put it back together.
|
Level 1 Installation: |