The end of the Plug and Play MIMA, and MIMA2
MIMA introduction
MIMA Operation
MIMA Users Page
Installing MIMA with The Plug and Play harness
FAQ
Installing MIMA with the pin replacement harness
software
The MIMA Joystick
The MIMA Display
The FAS system
DIY MIMA L
Cable impedance problem with last MIMA systems.
Learning to drive with MIMA
Hardwired Harness
Level 1 Installation
2. Disassembly
3. Thread the Harness
4. Threading the Harness, Cont'
5. Opening the Harness
6. Level 1 Install (rear connections)
7. Fan Diodes Install
8. Battery Amp Monitor Rear Connections
9. Mounting the MIMA system in the car.
10. Level One wiring test.
11. Level 1 Check first power up
12. The first MIMA operational test
13. Testing the fan control wiring
14. Confirming temp probe and fan control operation
Level 2 install
Theory of Operation

Level 1 Installation

Level 1 Installation
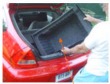
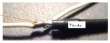
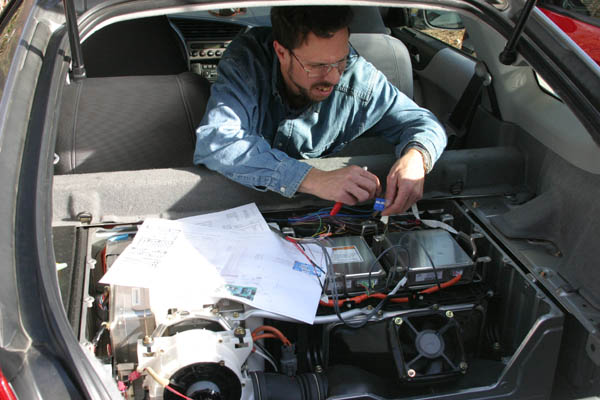
Getting into the harness

The MIMA systems produced starting July 2008 will be offered either as a full plug in, or a hard wired system. These instructions which were written for the first MIMA systems, while approximately correct, do not reflect how the wired in system will be installed, since we have learned a lot since these instructions were written.A new version of these instructions will be generated once the new harnesses have been designed.
Mike

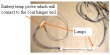
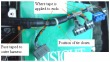
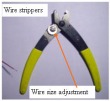
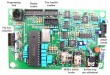
Because of the large number of connections, extreme care must be exercised to assure that all the connections are sound, insulated, connected to the correct points, and are thoroughly tested before connecting the MIMA electronics. While none of the connections are made to the High Voltage Battery or power wires, we will be working on the rear section of the car where those wires are present, and exposed. I would strongly recommend that you do not attempt to install MIMA if you do not have the required skills to do it correctly and with confidence. The car can be damaged, the MIMA circuits can be damaged, you could be electrocuted, or burned. This is not a car stereo install, it goes much further. I am attempting to provide thorough step by step instructions, with many photos to guide both the novice and professional through this installation, And will continue to refine them as I receive feedback from the people doing the first installs.


2. Disassembly
3. Thread the Harness
4. Threading the Harness, Cont'
5. Opening the Harness
2. Disassembly
3. Thread the Harness
4. Threading the Harness, Cont'
5. Opening the Harness
6. Level 1 Install (rear connections)
7. Fan Diodes Install
8. Battery Amp Monitor Rear Connections
9. Mounting the MIMA system in  the car.
6. Level 1 Install (rear connections)
7. Fan Diodes Install
8. Battery Amp Monitor Rear Connections
9. Mounting the MIMA system in the car.
10. Level One wiring test.
11. Level 1 Check  first power up
12. The first MIMA operational test
13. Testing the fan control wiring
10. Level One wiring test.
11. Level 1 Check first power up
12. The first MIMA operational test
13. Testing the fan control wiring
14. Confirming temp probe and fan control operation