The end of the Plug and Play MIMA, and MIMA2
MIMA introduction
MIMA Operation
MIMA Users Page
Installing MIMA with The Plug and Play harness
Installation and introduction
1. Disassembly
2. Gaining access to the opening behind the seats
3. Threading the DB-25 to the front
running the DB-25 to the front
4. Installing the rear connections
5. Mounting the MIMA system in the car.
6. Accessing and connecting to the ECM
7. Installing the MIMA joysticks
8. Mounting the display
9. First powerup
10. The first MIMA operational test
Installing MIMA in a RHD Insight
FAQ
Installing MIMA with the pin replacement harness
software
The MIMA Joystick
The MIMA Display
The FAS system
DIY MIMA L
Cable impedance problem with last MIMA systems.
Learning to drive with MIMA
Hardwired Harness
Theory of Operation

running the DB-25 to the front

running the DB-25 to the front
fishing it through

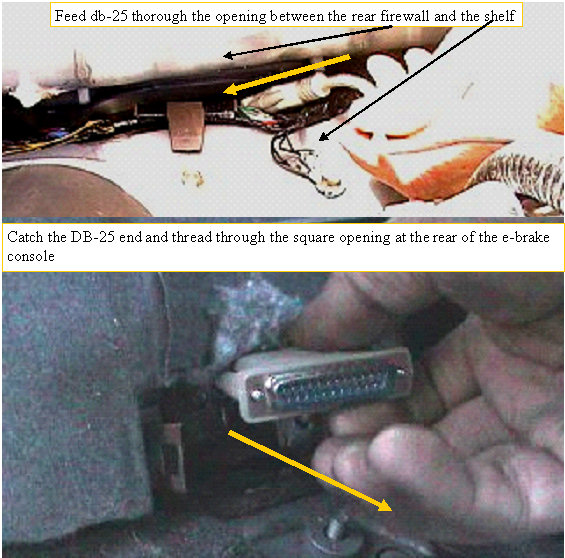
Carefully feed the DB-25 down through the opening between the shelf and the rear firewall. The rectangular shape of the connector allows it to easily fit through the space.
The db-25 cable will be run to the small opening under the rear carpet flap in the rear of the e-brake console.
If you have trouble getting it between the aluminum firewall and the wiring shelf behind the seats, you may have to bend the stock harness and ground wires slightly to make room for the db-25.